Post by Budgies Retreat on May 23, 2014 17:36:01 GMT
Hi guys and gals.
After showing a short video of my home made seed winnower, I was asked if I would do a "How to..." so that everyone can build one. The idea is simple (as most are) but does a relatively good job, and saves you either throwing away good unused seed, or standing in the garden blowing husks away, much to the amusement of your neighbours 
The items required for this build depends on the outside diameter of your hoover pipe, so you will need to measure across the end of your pipe. In my circumstance, my hoover pipe is 36mm O.D. so I went to my local hardware store and luckily they stock 36mm inside diameter waste pipe. Most stores will have various sizes, but another way is simply to wrap duct tape around the pipe to increase the O.D. if you cannot find the exact size. You can make this winnower using less than a meter of waste pipe, so don't be afraid to ask for any off cuts or damaged pipe.
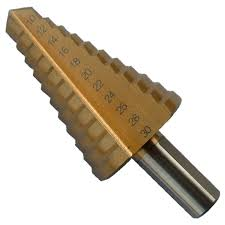
The first thing you'll need is either a step drill, which makes life easier, or a selection of drill bits.
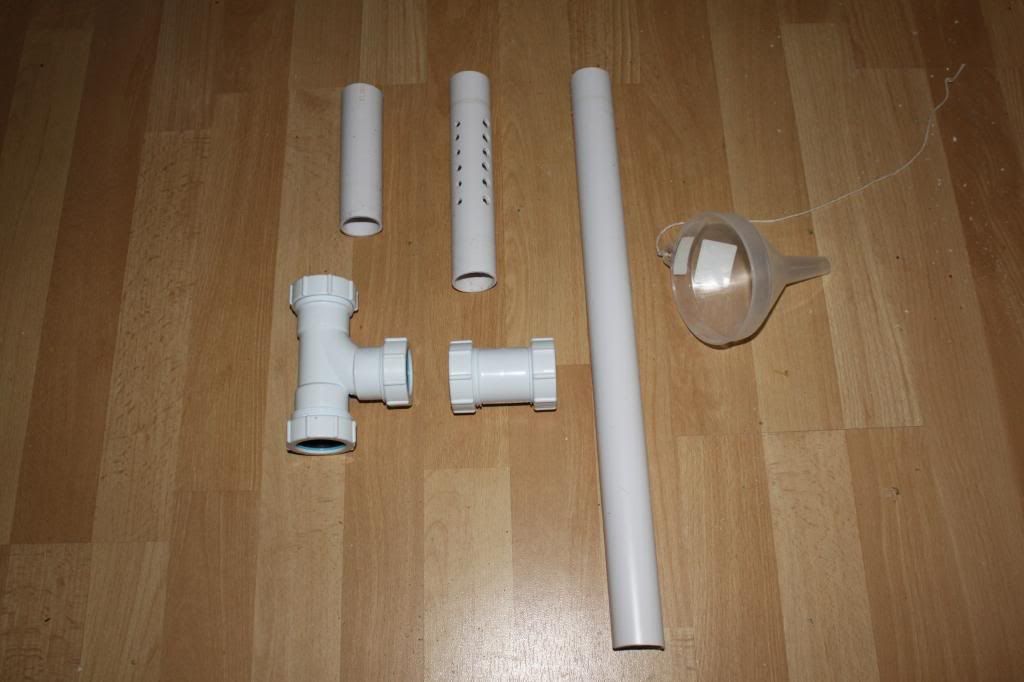
These are parts required. I have already cut the pipe to length. 1 meter of pipe, a Tee piece, straight connector, pipe clips and a funnel.
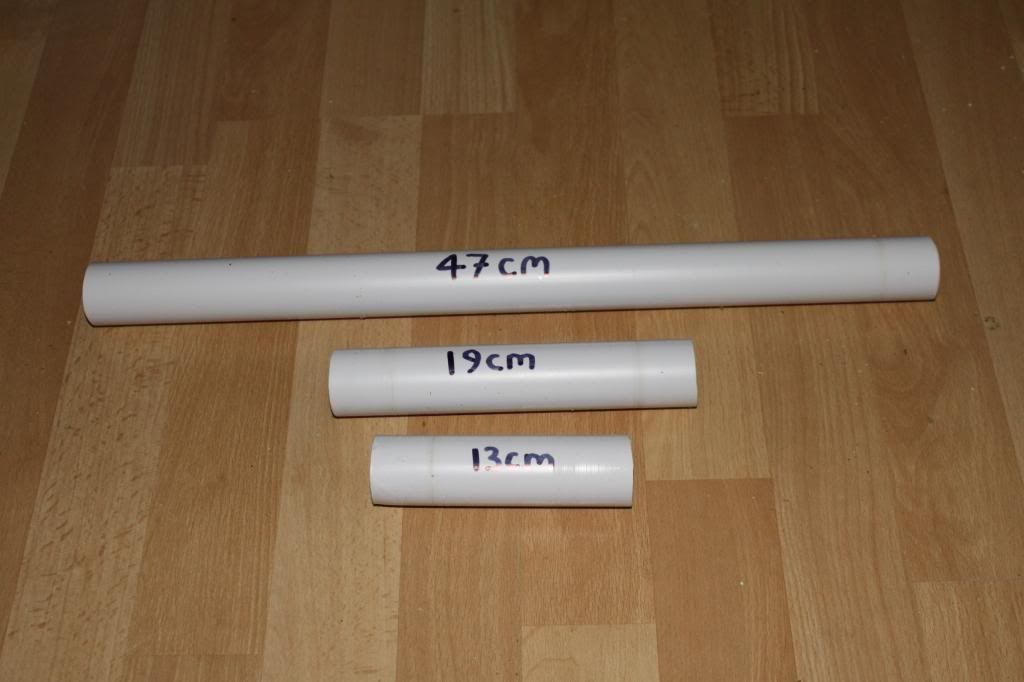
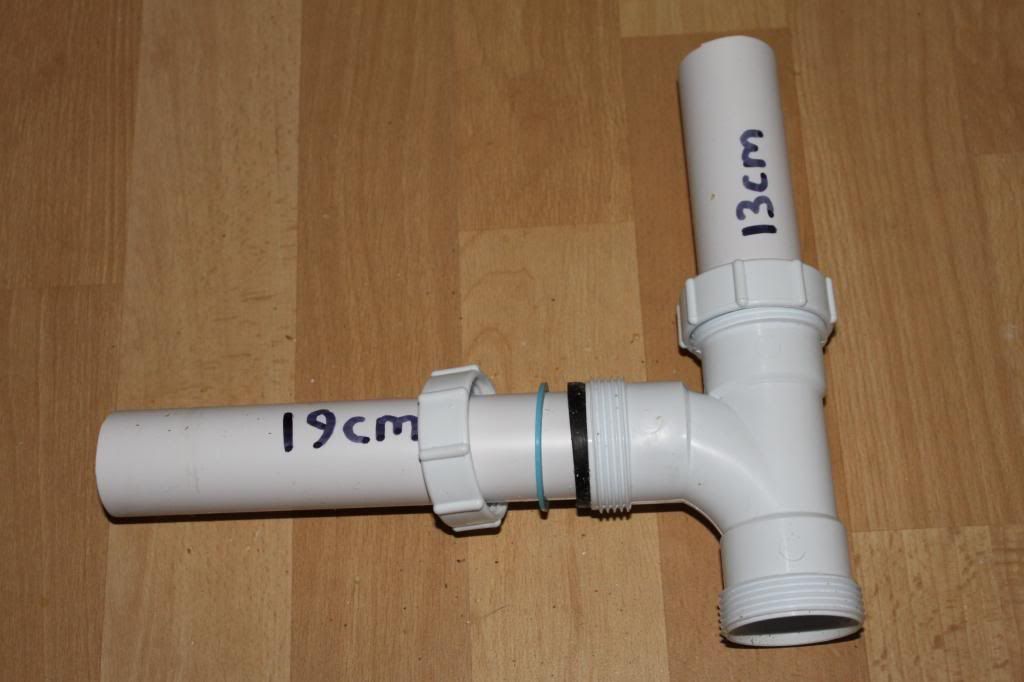
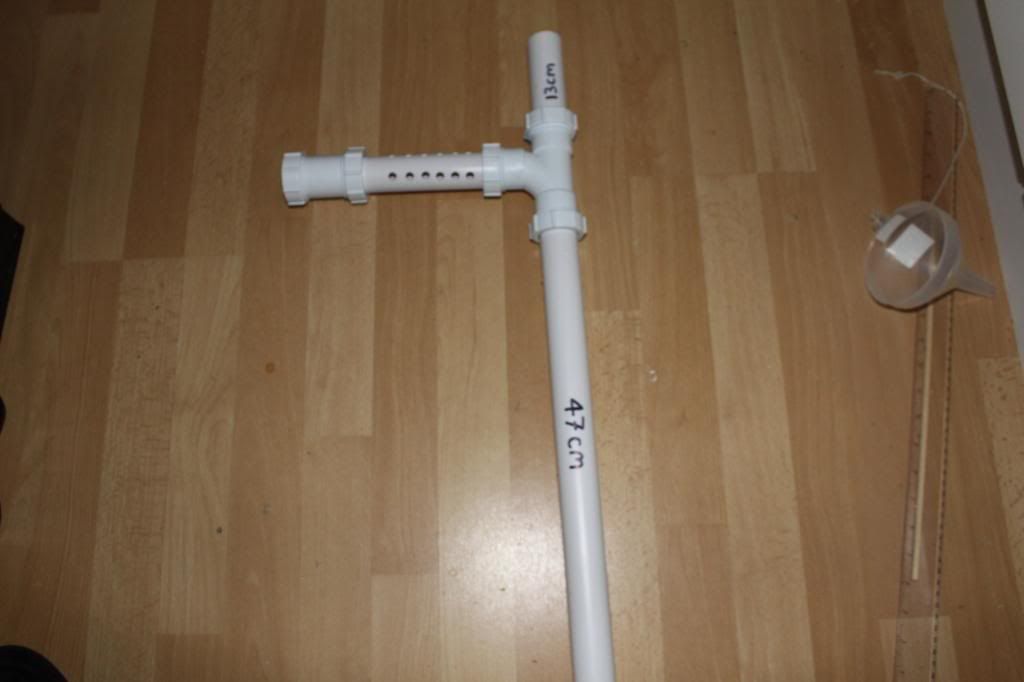
Cut the pipe to the following photo. Is it critical to cut to these lengths? Not really, I just cut them to fit behind a cupboard door in my bird room. You will find that a longer air by-pass pipe will mean less holes drilled are required, whereas a short pipe will need more.
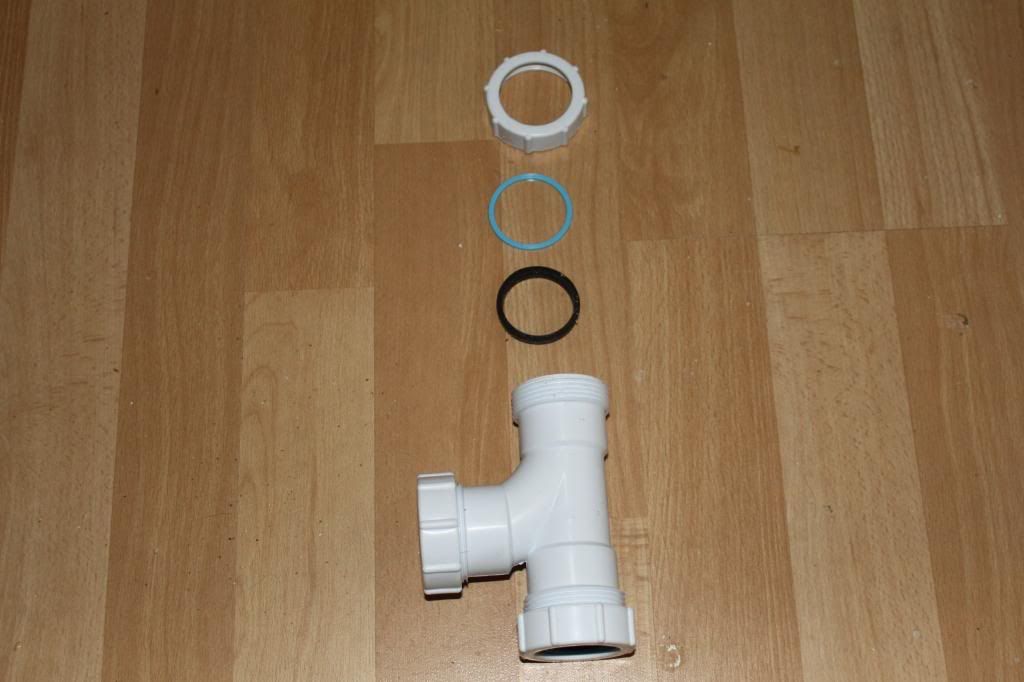
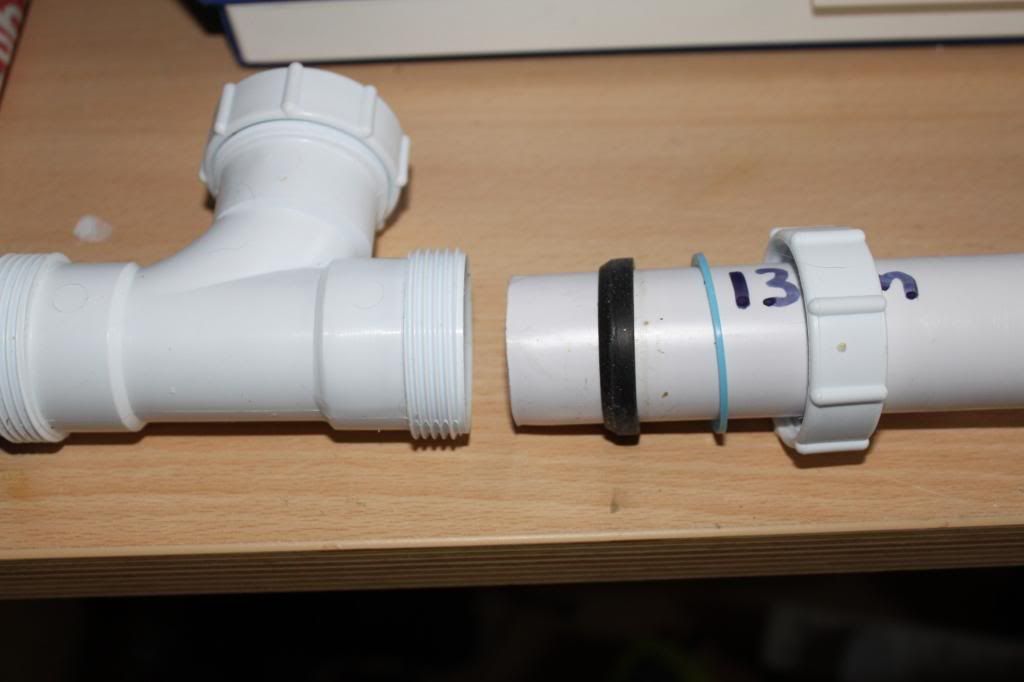
Take your Tee piece and disassemble
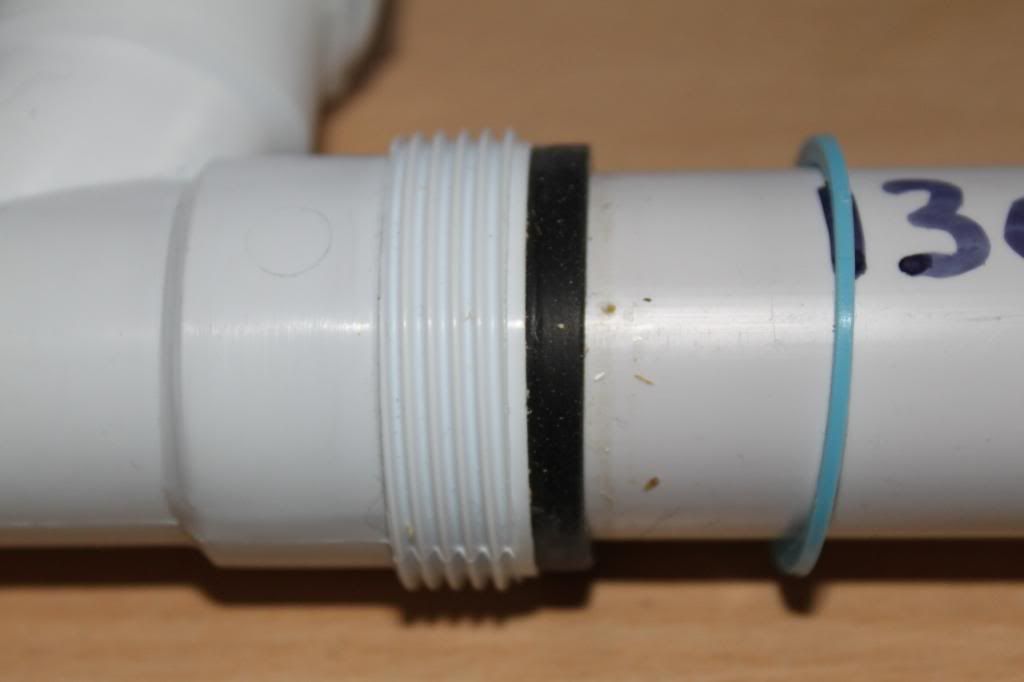
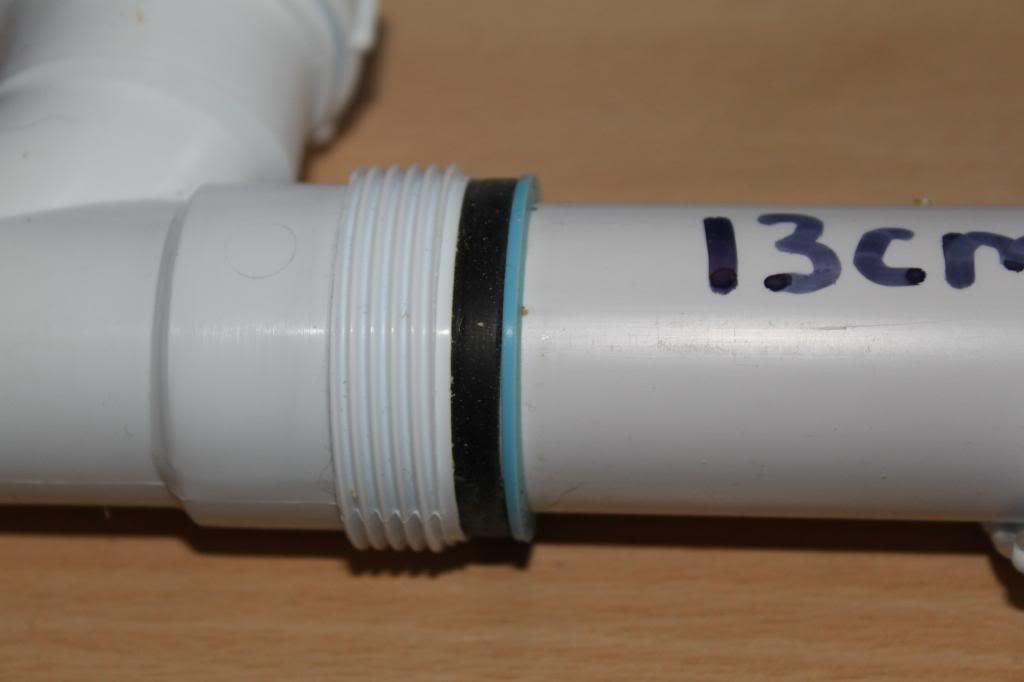
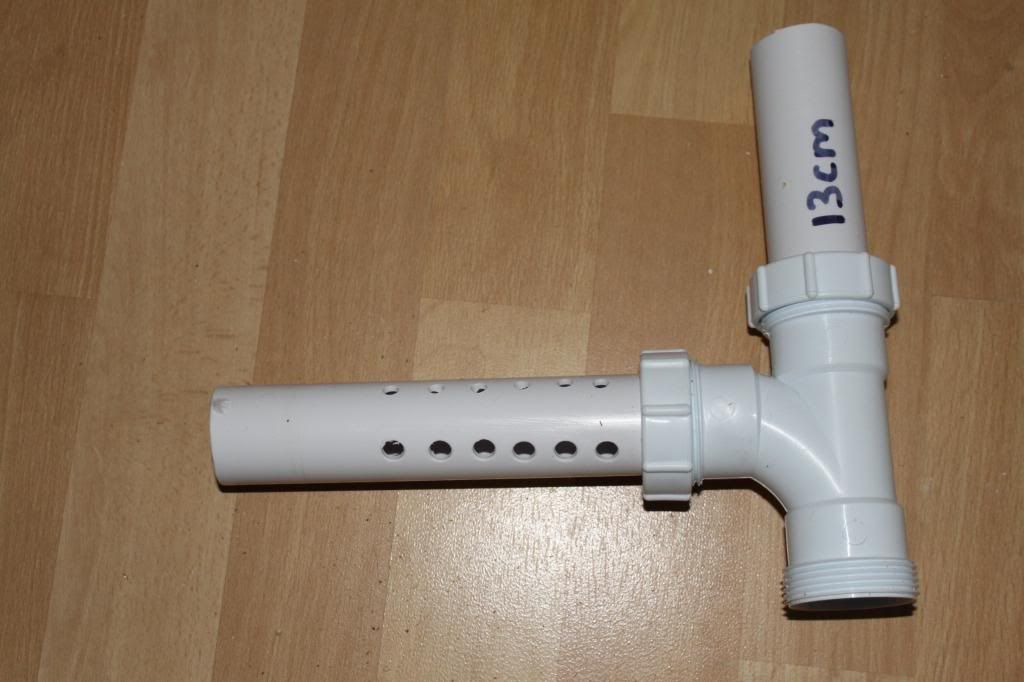
Fit the top pipe into the Tee piece and fit the components as such. Please note that the black rubber gasket as a chamfer to one side, and this MUST face into the joint. Follow this up with the hard plastic washer, and then the collar. Push the pipe home into the joint until it stops. Push the gasket down, followed by the washer and then tighten up the collar to hand tight, doesn't need any more than that.
Now do the same with the air by-pass pipe.
In this photo you can see that I have already drilled a series of holes, however these were drilled AFTER I had fully assembled it and was testing it with used seed to work out how many holes I needed. Again, this is dependant on the length of the air by-pass pipe and also the power of your hoover.
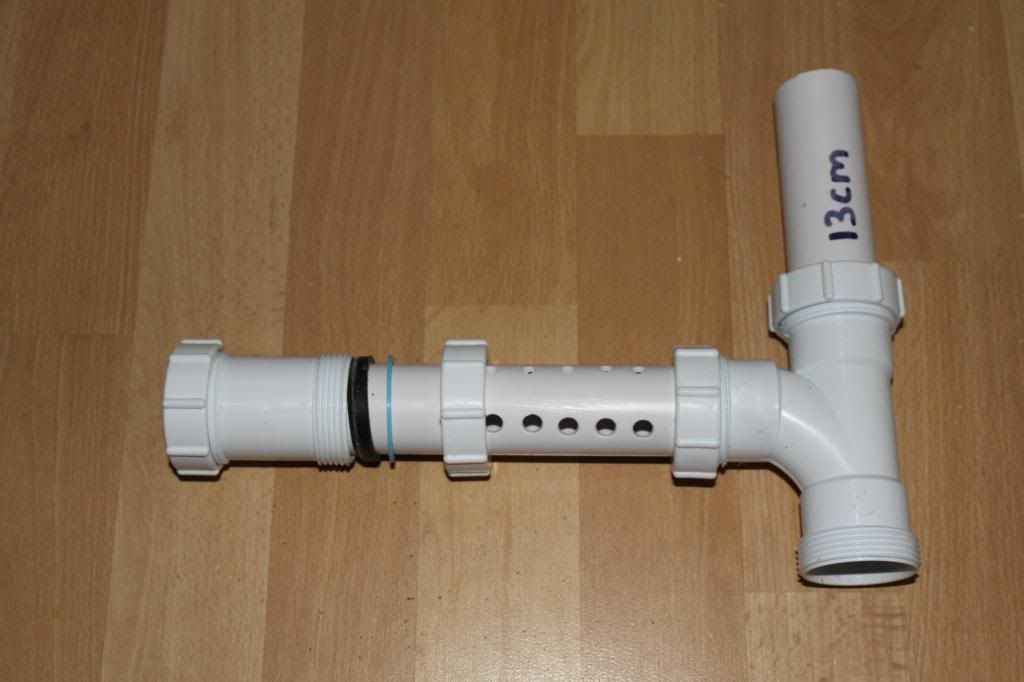
Now fit the straight connector to the other end of the air by-pass pipe. This will be where your hoover pipe will slid into, so ensure that the black rubber gasket remains in this open end to seal the hoover pipe when inserted.
Now fit the lower pipe the same way as previous joints.
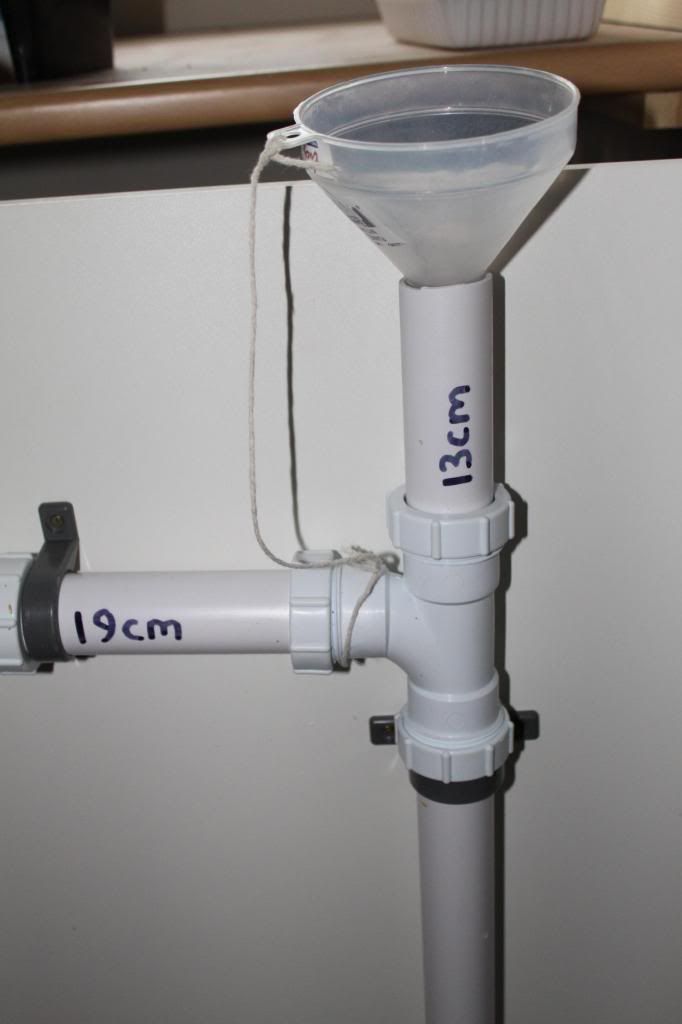
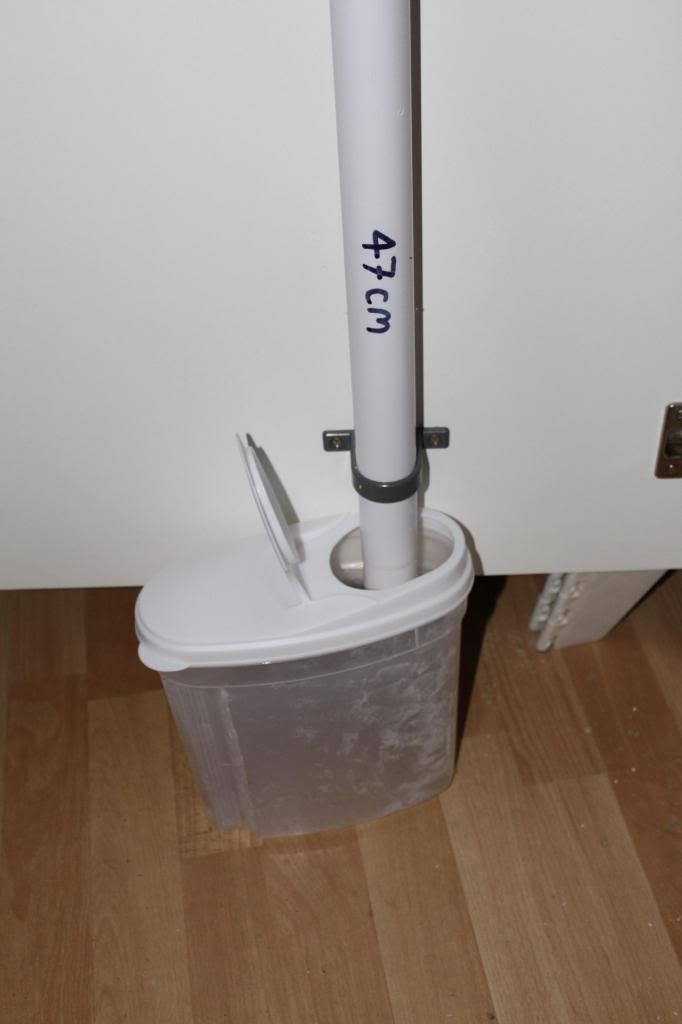
Once all connected, I fitted mine to the inside of a cupboard door inside my bird room. It just makes it easier to use and is stored out of sight. Use pipe clips to secure. Ensure that you fit the Tee piece as the photo shows, with the "flow" pointing downward.
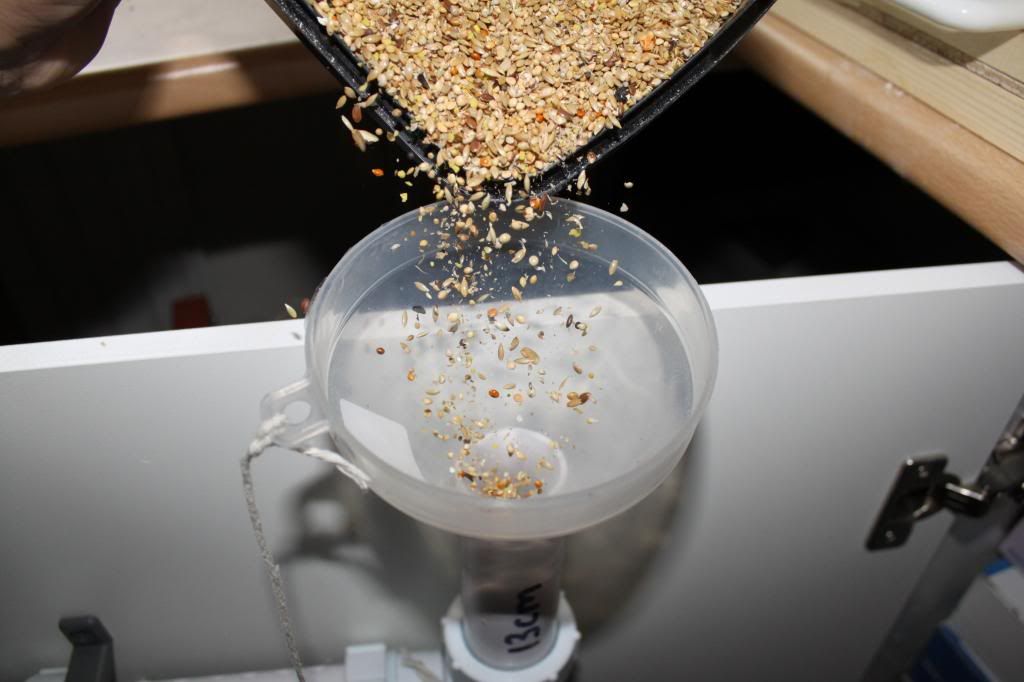
Tie a funnel to the pipe so you know where it is and don't lose it. It doesn't matter what size funnel you use, but I prefer less volume of seed entering to ensure more husks are sucked away.
Place a suitable container at the bottom.
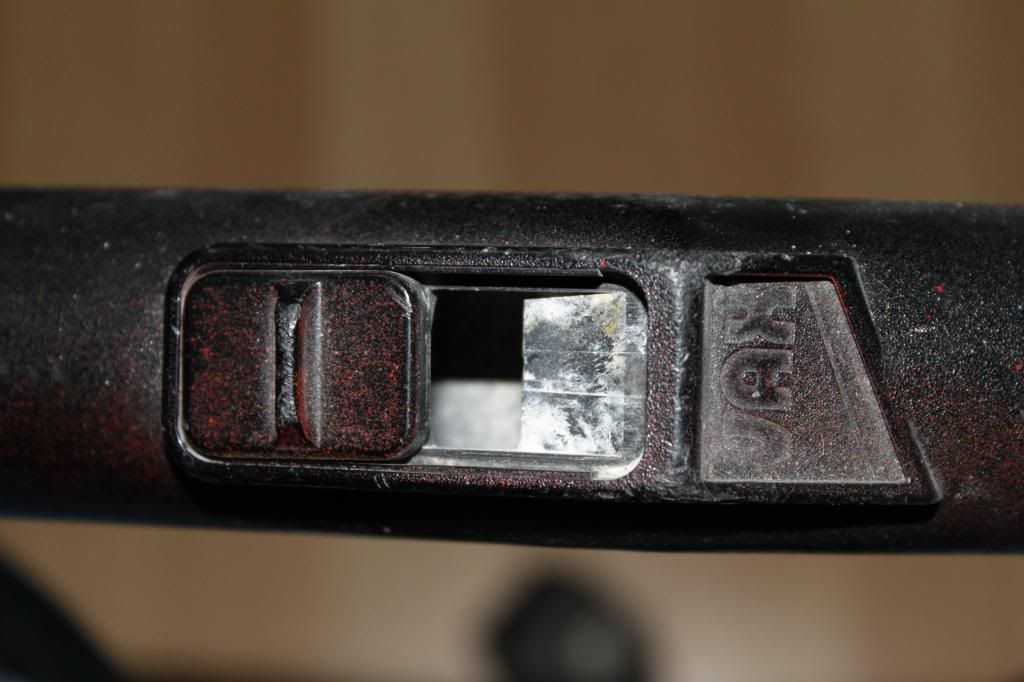
It may help to also open the by-pass slider on your hoover, you will just have to try it and see. It is a bit trial and error getting the air flow right to ensure as much husk is removed. Inevitably you will also suck up some good seed, but if this happens just drill another hole in the air by-pass pipe and try again. Please ignore the state of my hoover, as this is one I just use in my workshop and it accidentally got sprayed with red paint.
Insert the hoover pipe and switch on.
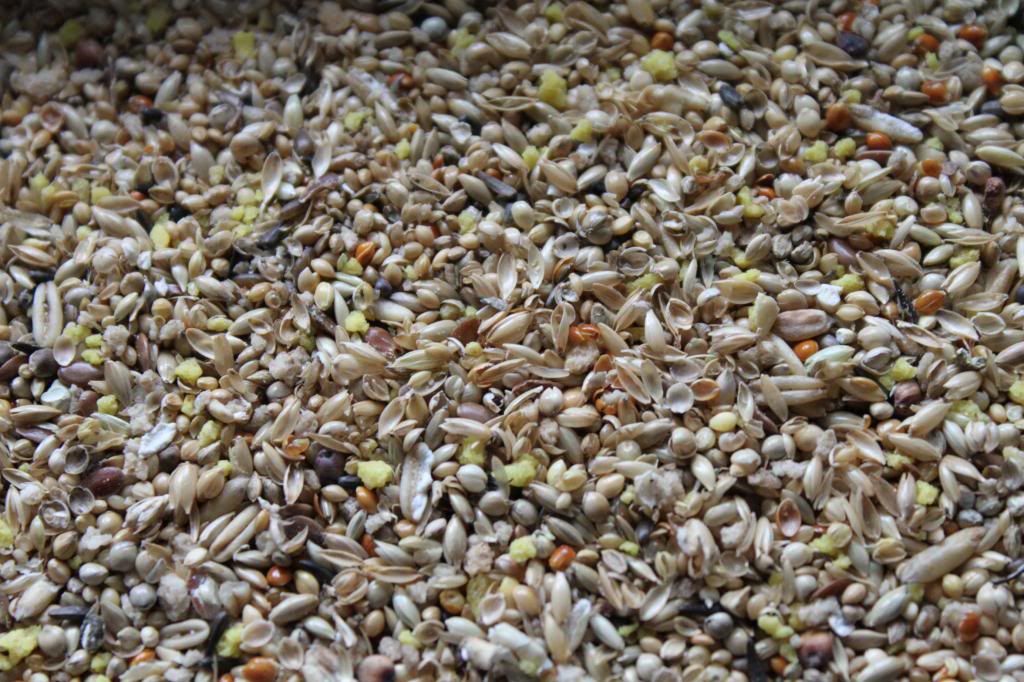
This is the "dirty" seed removed from my flight and cages. Loads of husks and loads of good seed.
Start to feed the dirty seed into the funnel slowly. Unfortunately I spilt a load as I was trying to look through the view finder and take the photo at the same time, lol 
This the winnowed seed after one pass through. There are a couple of husks still there, but this is certainly good enough to put back in the flight. It also shows egg food, so it goes to show how delicate this winnowing is to remove the husks but not the egg food.
So there you have it. If I recall correctly, I think the whole set up was less than £5 in cost. You could mess around with more holes or making a slider to manually adjust the air by-pass pipe, or if you make too many just apply some sellotape or duct tape to cover them. The main point is that you collect as much husk as possible in one pass, so inevitably you will lose some good seed in the process, but hey, this is just a 5 minute job to solve a pain in the backside situation!
I hope this helps, and I apologise for the delay in not getting this done sooner, but work and family commitments blah blah blah.





 I'm waiting for one of Barrie Shutts bird catchers. If I had the parts I would have a go myself, I'll get hubby to buy them when he's next at the DIY store.
 I use Johnston and Jeff Parakeet. I have 2 cockatiels in my aviary so they need the extras in it. What are the little yellow bit's, like crumb?